Azure Active Directory: Securing an ASP.Net Core Website using Implicit Grant flow


In the earlier post, we went through an overview of how a new Azure Active Directory instance/tenant can be created and how users can be created/added to this tenant. With this background, we'll look at how a website developed using Asp.Net Core can be secured using AAD.
For the sake of this walkthrough, we'll start by creating an Asp.Net Core website.
Creating a website
We'll create a basic Asp.Net Core website with the default template, nothing fancy for this example as our main motto is to deep dive into how to secure the website using AAD.
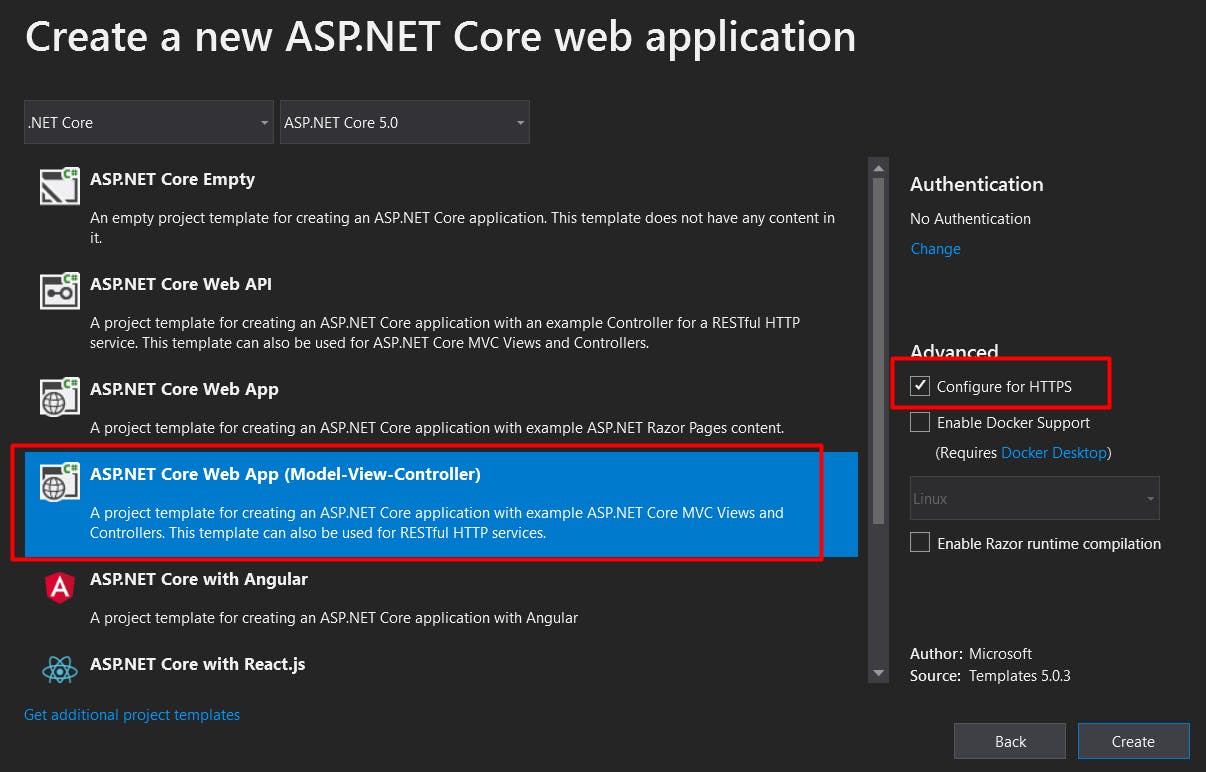
I've used Visual Studio 2019 and .Net Core 5.0 to create this sample website as follows ...


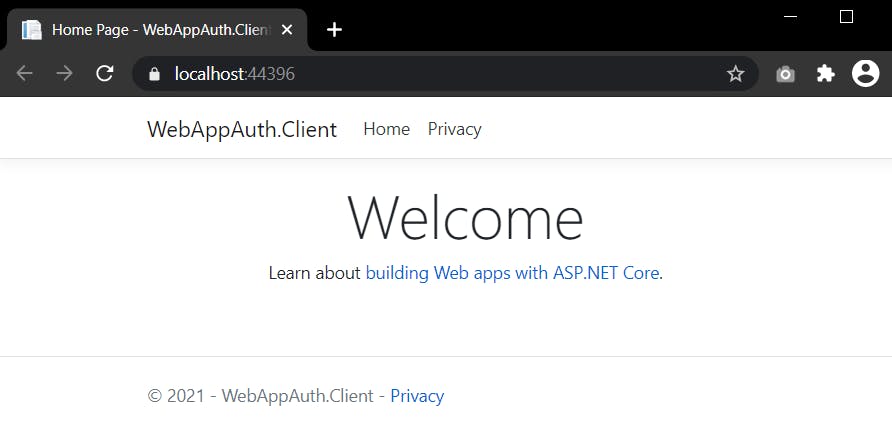
If we build and run this solution, we'll be able to view the website in the browser as follows...
Now that we have a basic website ready, we'll move to the next step where we'll look to use AAD to secure this website.
Securing website using AAD
As part of this walkthrough, we'll focus on securing this website using OpenID Connect and the implicit flow approach using AAD. This will involve a series of steps as follows ...
Creating an AAD App registration
In the AAD tenant, use the App Registrations blade to register a new application.
Why register this new application?
Any application which needs to be secured by AAD needs to be registered in the App Registrations module. This registered app can then be used to decide which set of users would be able to access the application that is secured.

Configure the App Registration as follows ...

Once the App Registration is complete, note down the client id and tenant id of this App from the overview pane. The client id uniquely identifies this app.

On the Authentication tab, select the Add a platform option, and select the Web platform option

Here, the Redirect URI would be the one where AAD would redirect the request with identity token once the user has been authenticated. In this case, we have used the localhost URL since we are creating a sample application on localhost, however, these need to change based on the target environment. The signin-oidc part of the URL is something that is understood by the OpenID Connect middleware that will be used.
The same is the case with the Logout URL. This will be the URL that AAD will redirect to, post logout from AAD so that client session data can be cleared.
Finally, since we are considering the implicit grant flow here, we'll check the identity tokens checkbox in the last section.

With this, our AAD App registration is now complete. We'll now proceed towards integrating this registered AAD App in our website code to secure it. You can download the code for securing the website from my GitHub repo here.
Securing the website
The very first thing to do here is install the NuGet package => Microsoft.AspNetCore.Authentication.OpenIdConnect Once installed, the ConfigureServices method in Startup.cs file can be updated with the following piece of code ...

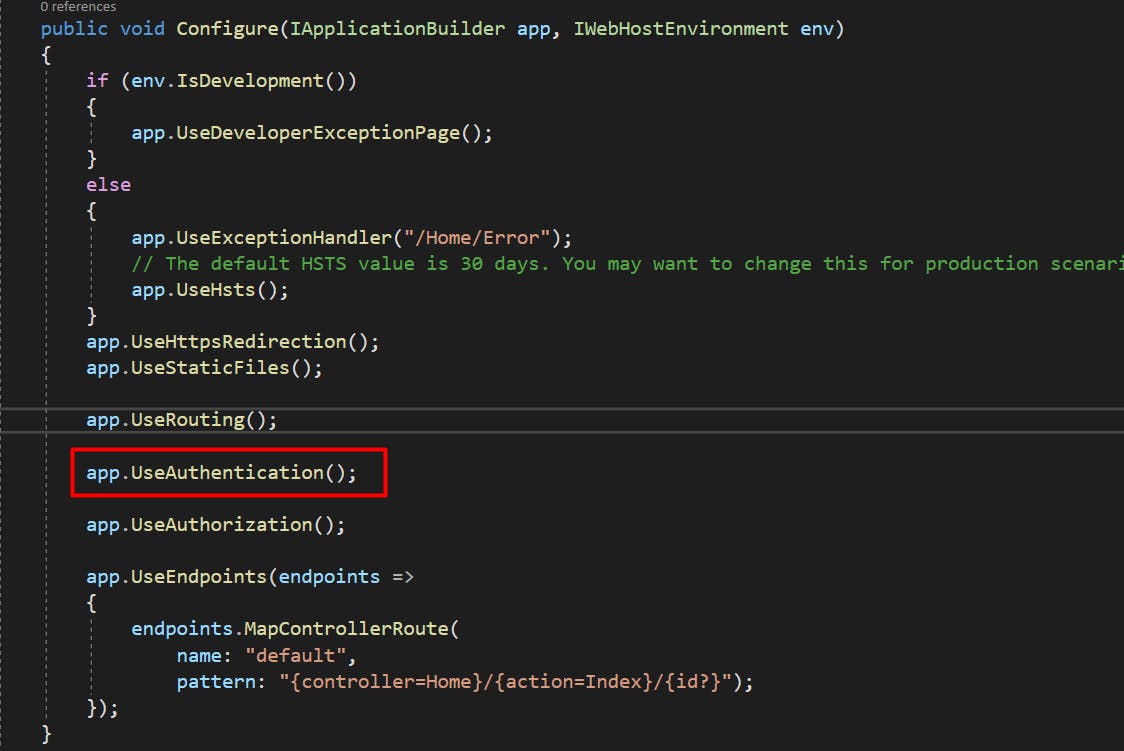
In the Configure method, ensure that the Authentication middleware is called post the Routing, but before the Authorization module.
And finally, in the Home Controller, add the Authorize attribute to ensure that this part of the application cannot be accessed without authenticating the user.

Testing the website and validating that user is authenticated
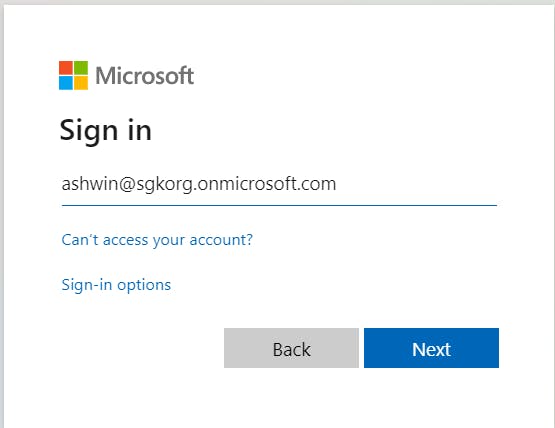
If we now run the application, we will see the familiar AAD login page, and post logging in with the user that we had created earlier in the tenant, we will be successfully redirected to the home page of the website.
We can also add a breakpoint in the Index the action of the Home Controller, and check if user is authenticated and the claims associated with the user ...

Clearing user session on Logout
Last but not the least, we would also need to log out the user the right way.
This would need clearing out 2 cookies
The application cookie - so that the user is signed out of the application
AAD's cookie - so that the user is signed out of AAD
For this, we can add a new action method SignOut which will have 2 calls to sign out both the cookies ...

Testing user Logging out from the website
To test this, we can run the application and once the user signs in to the home page, we can add the following URL in the address bar (this is just for this example, in PROD we'll have a sign-out link to trigger this).

This will clear the user's session/cookie and then redirect to AAD to clear the AAD cookie by asking for the account for which the cookie needs to be cleared.

Once the user account is selected AAD will clear that cookie.

With this, we have covered most of the basics essential to secure a web application using AAD. We'll now, try to understand how all of the above steps work in tandem to get the implicit flow working.
Understanding the Implicit Grant flow in OpenID Connect
The Implicit Grant flow is the most simple flow in OpenID Connect and is not the most recommended one in recent times. We'll talk about a more secure flow in another post.
This diagram from Microsoft docs, explains the implicit flow in a very simple fashion...

Some things to note:
The very first-time user request comes to the browser, since the user does not have an authentication cookie, he is treated as anonymous and directed to authorization endpoint of AAD.
Since this request has both
client idandtenant id, AAD can route this to the right AAD and registered client app.The identity token generated is a JWT token and has information related to user claims.
Hope this was useful!